
Removed the tie-downs
A bit uneven in places for sure

I was still worried it would look bad

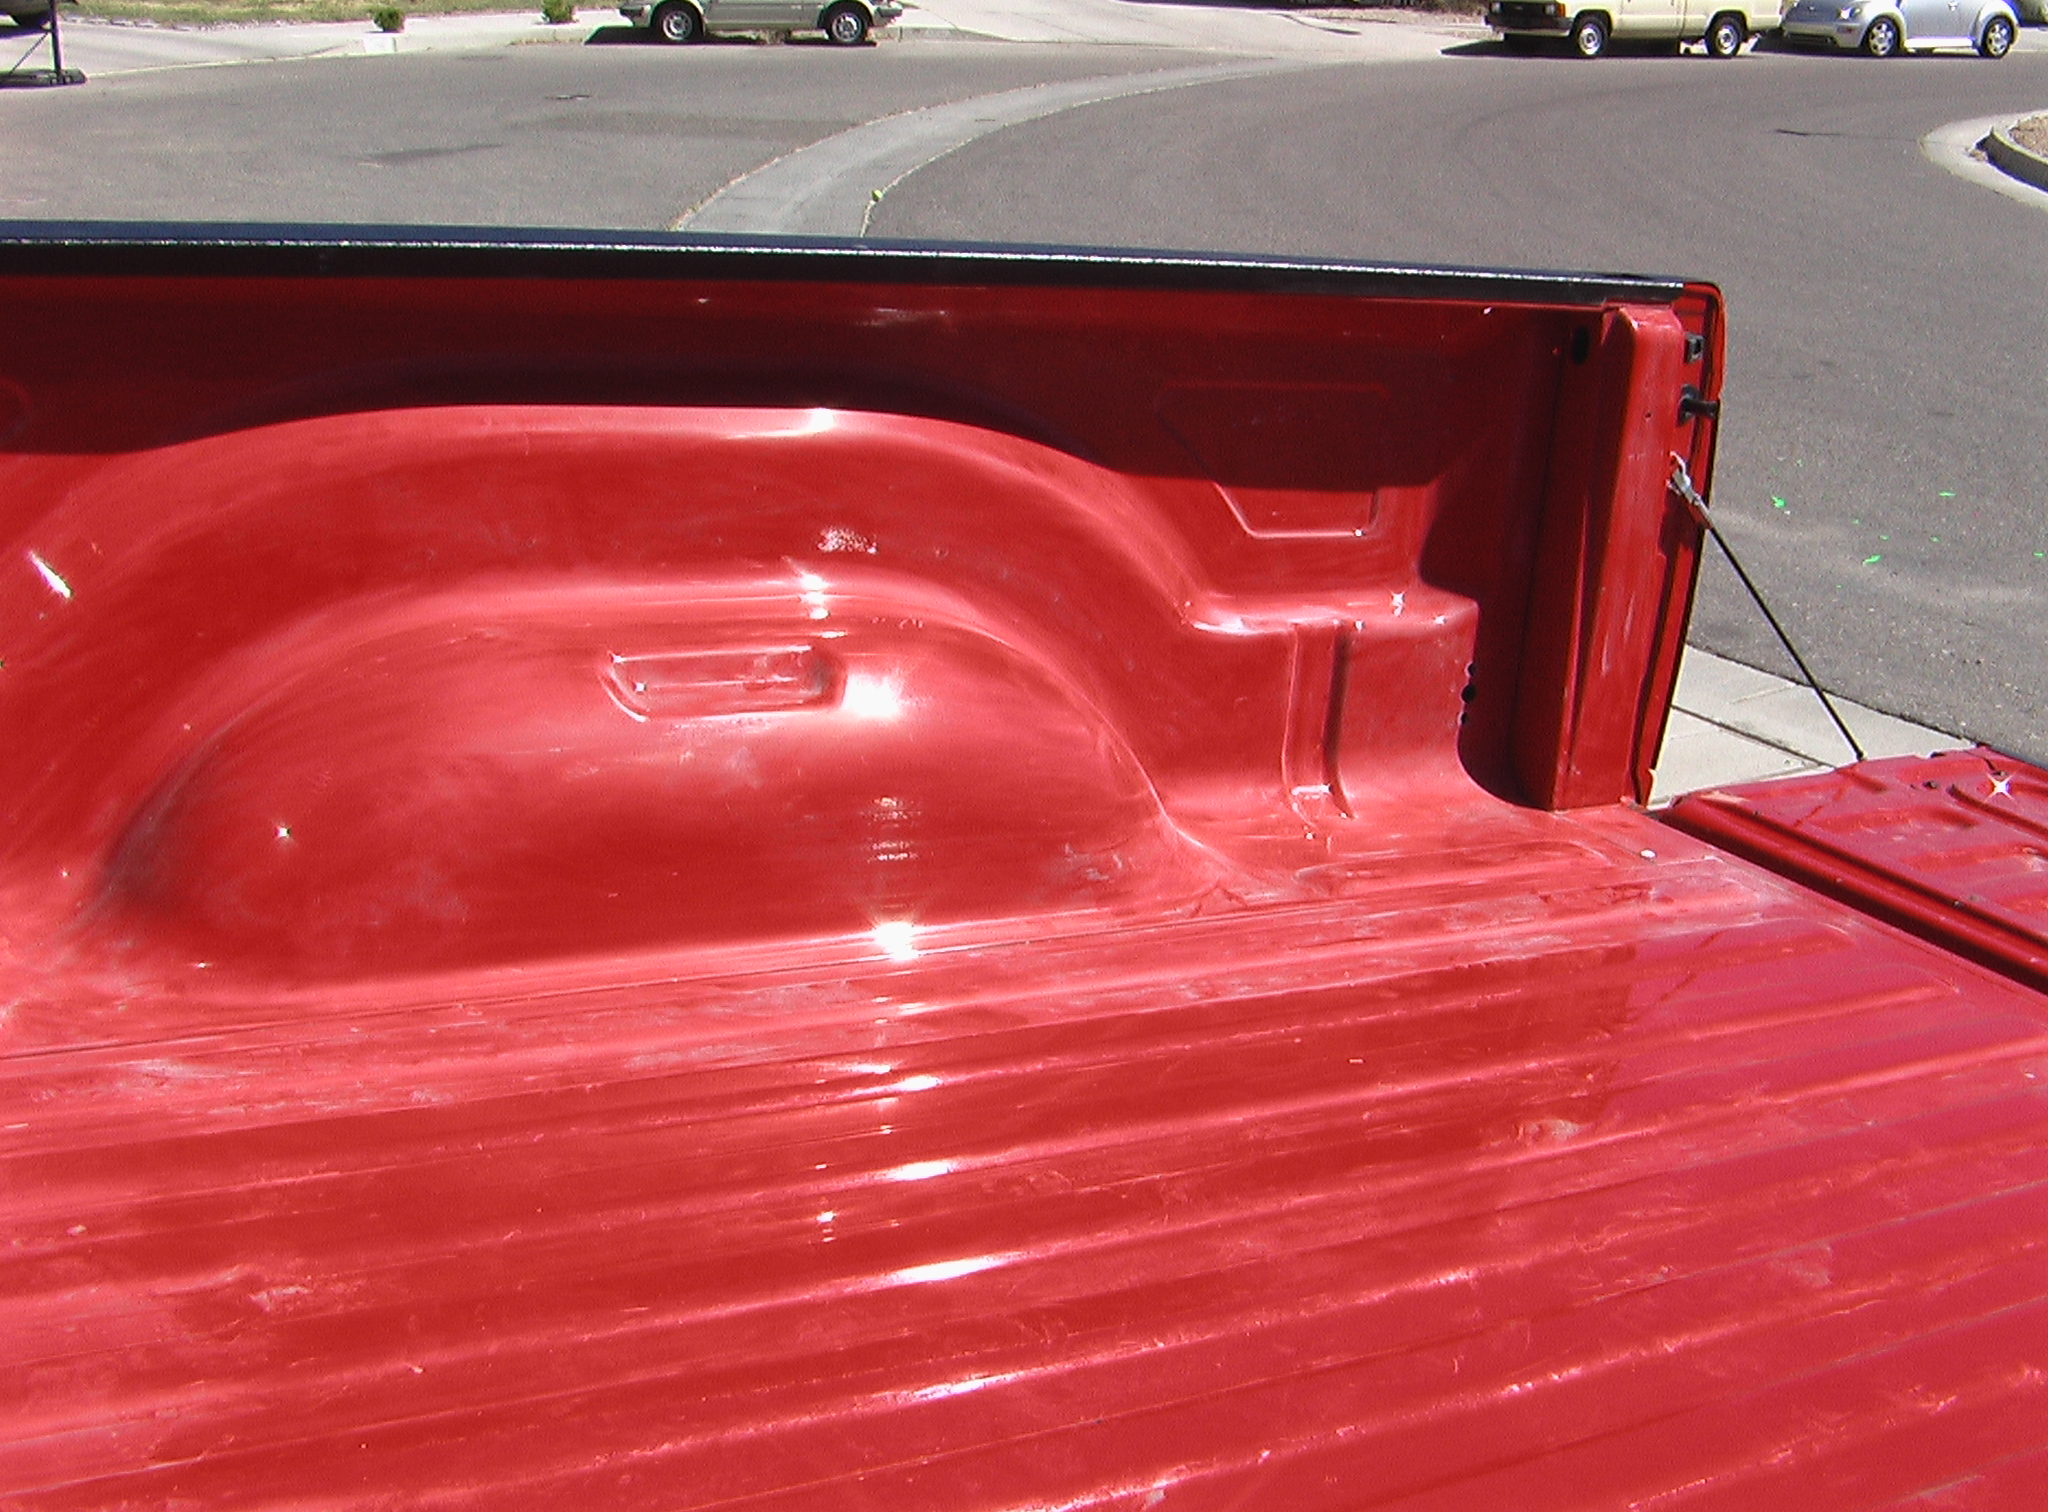
Scuffing the wheel humps

Removed the tie-downs

Still scuffing

Using the paintbrush to Herculine the hard spots

Using the paintbrush to Herculine the hard spots

Finally, on to the floor of the bed

Looks horrible

Finally, everything scuffed

Let dry for 4 1/2 hours

Switching between roller and brush to get the nooks and crannies

I was worried it was going to look like hell
This is going to take a while

Picked up again early Sunday morning

Starting on the floor of the bed

Still doing floor

Still scuffing

Still scuffing

Still see a lot of red in there
Still scuffing

Herculiner clumps up quick, keep M.E.K. handy for spills and thinning

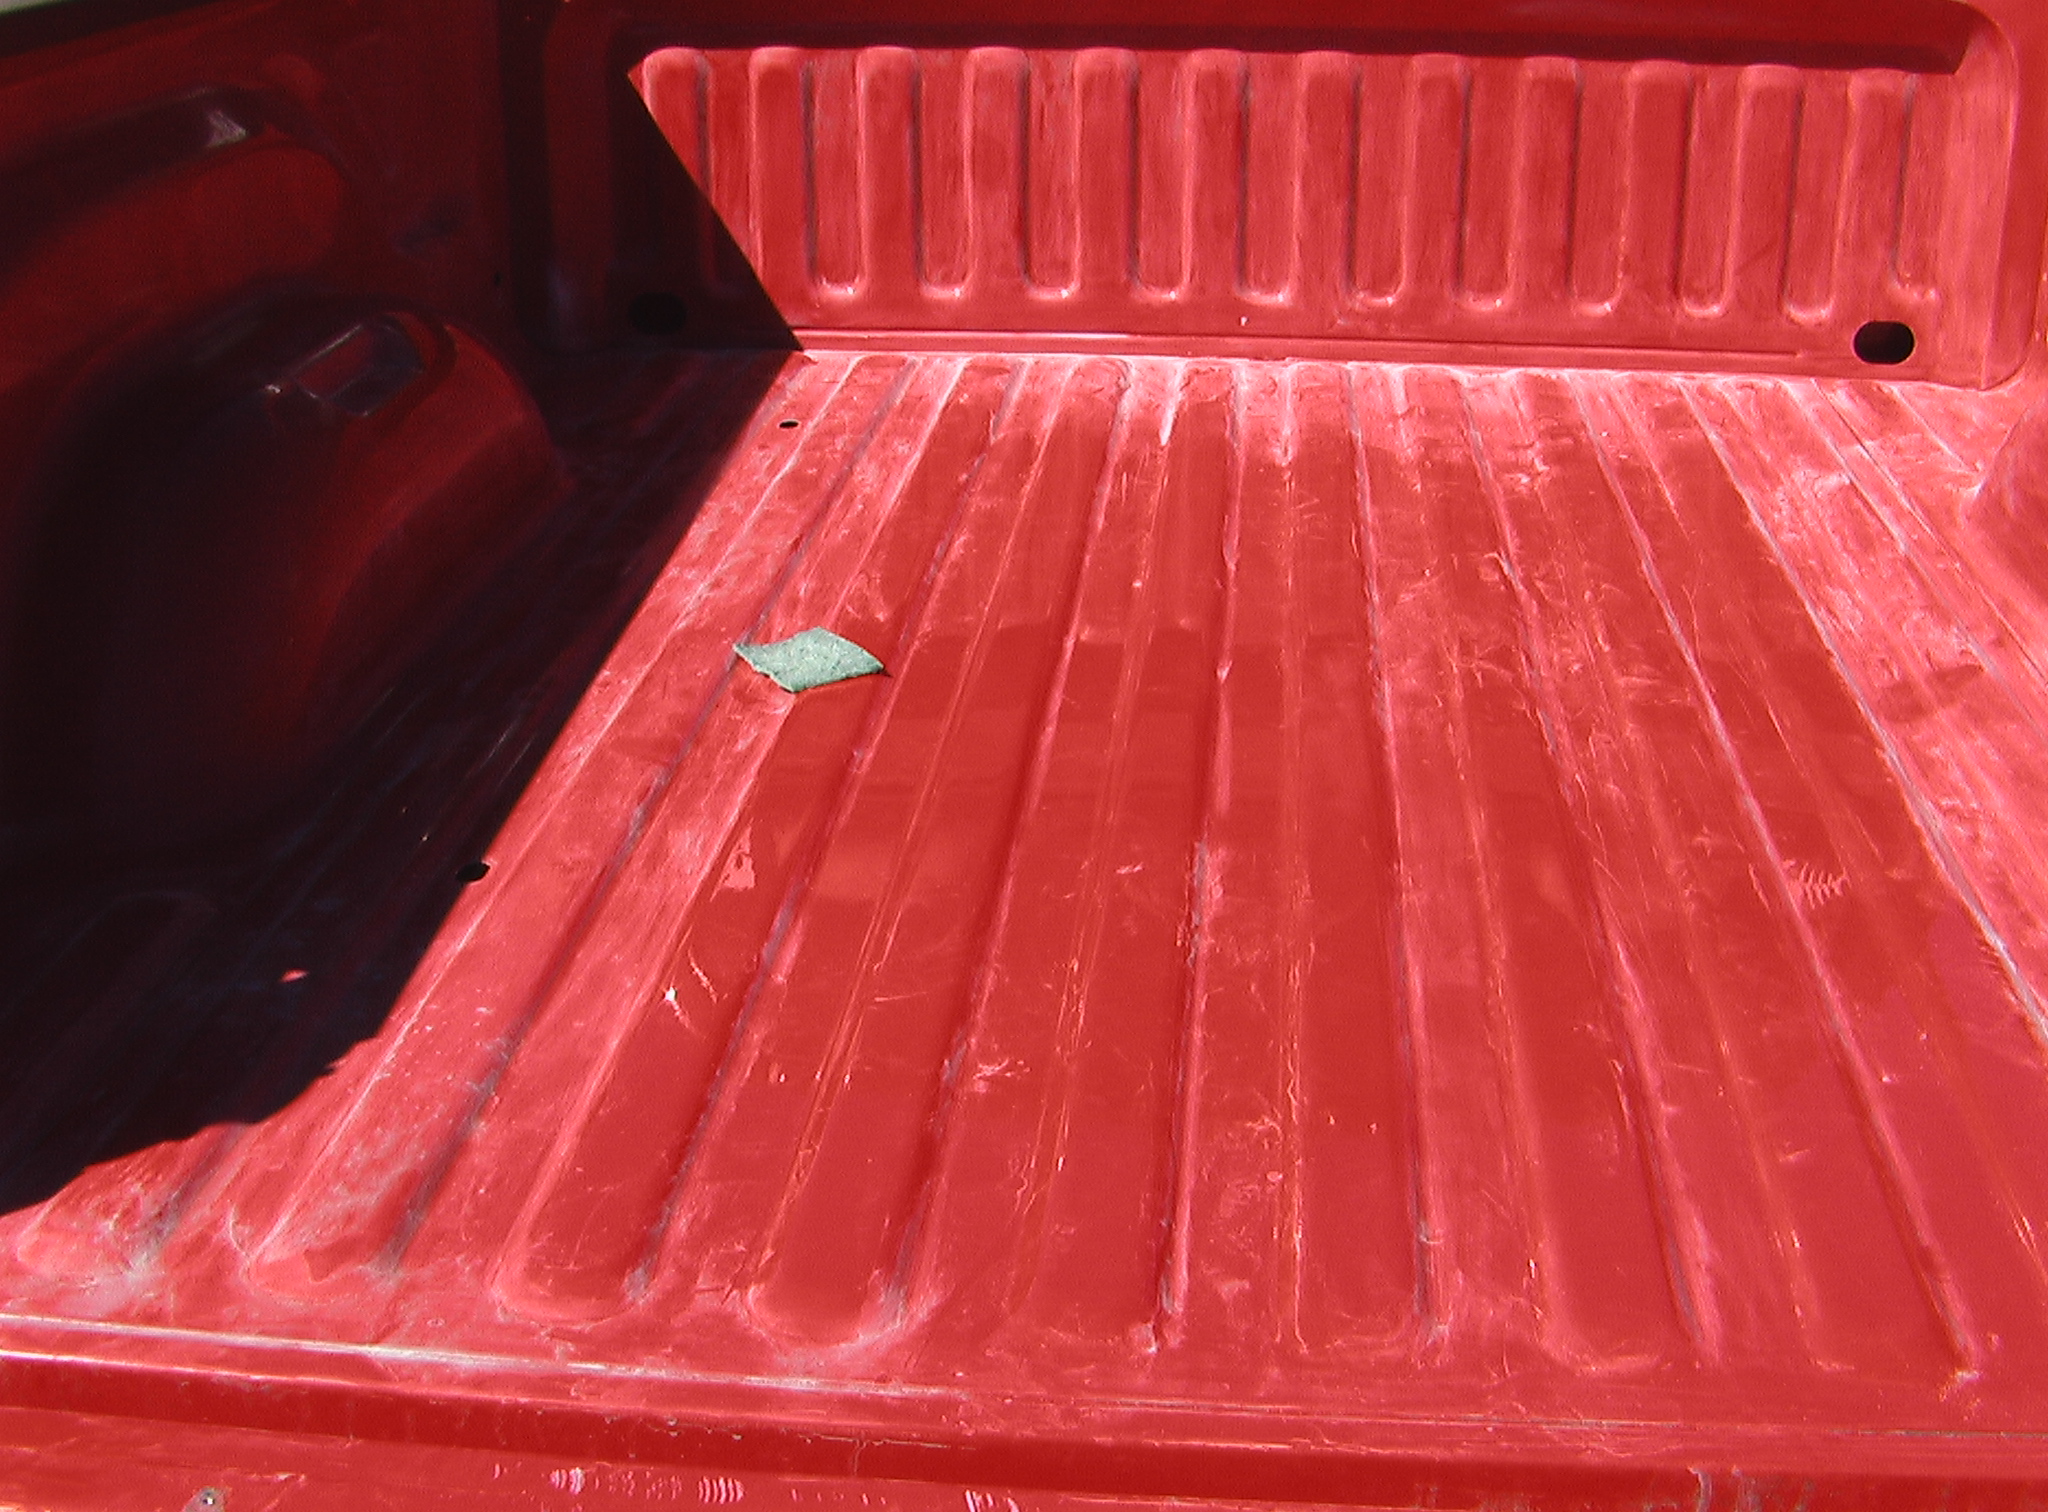
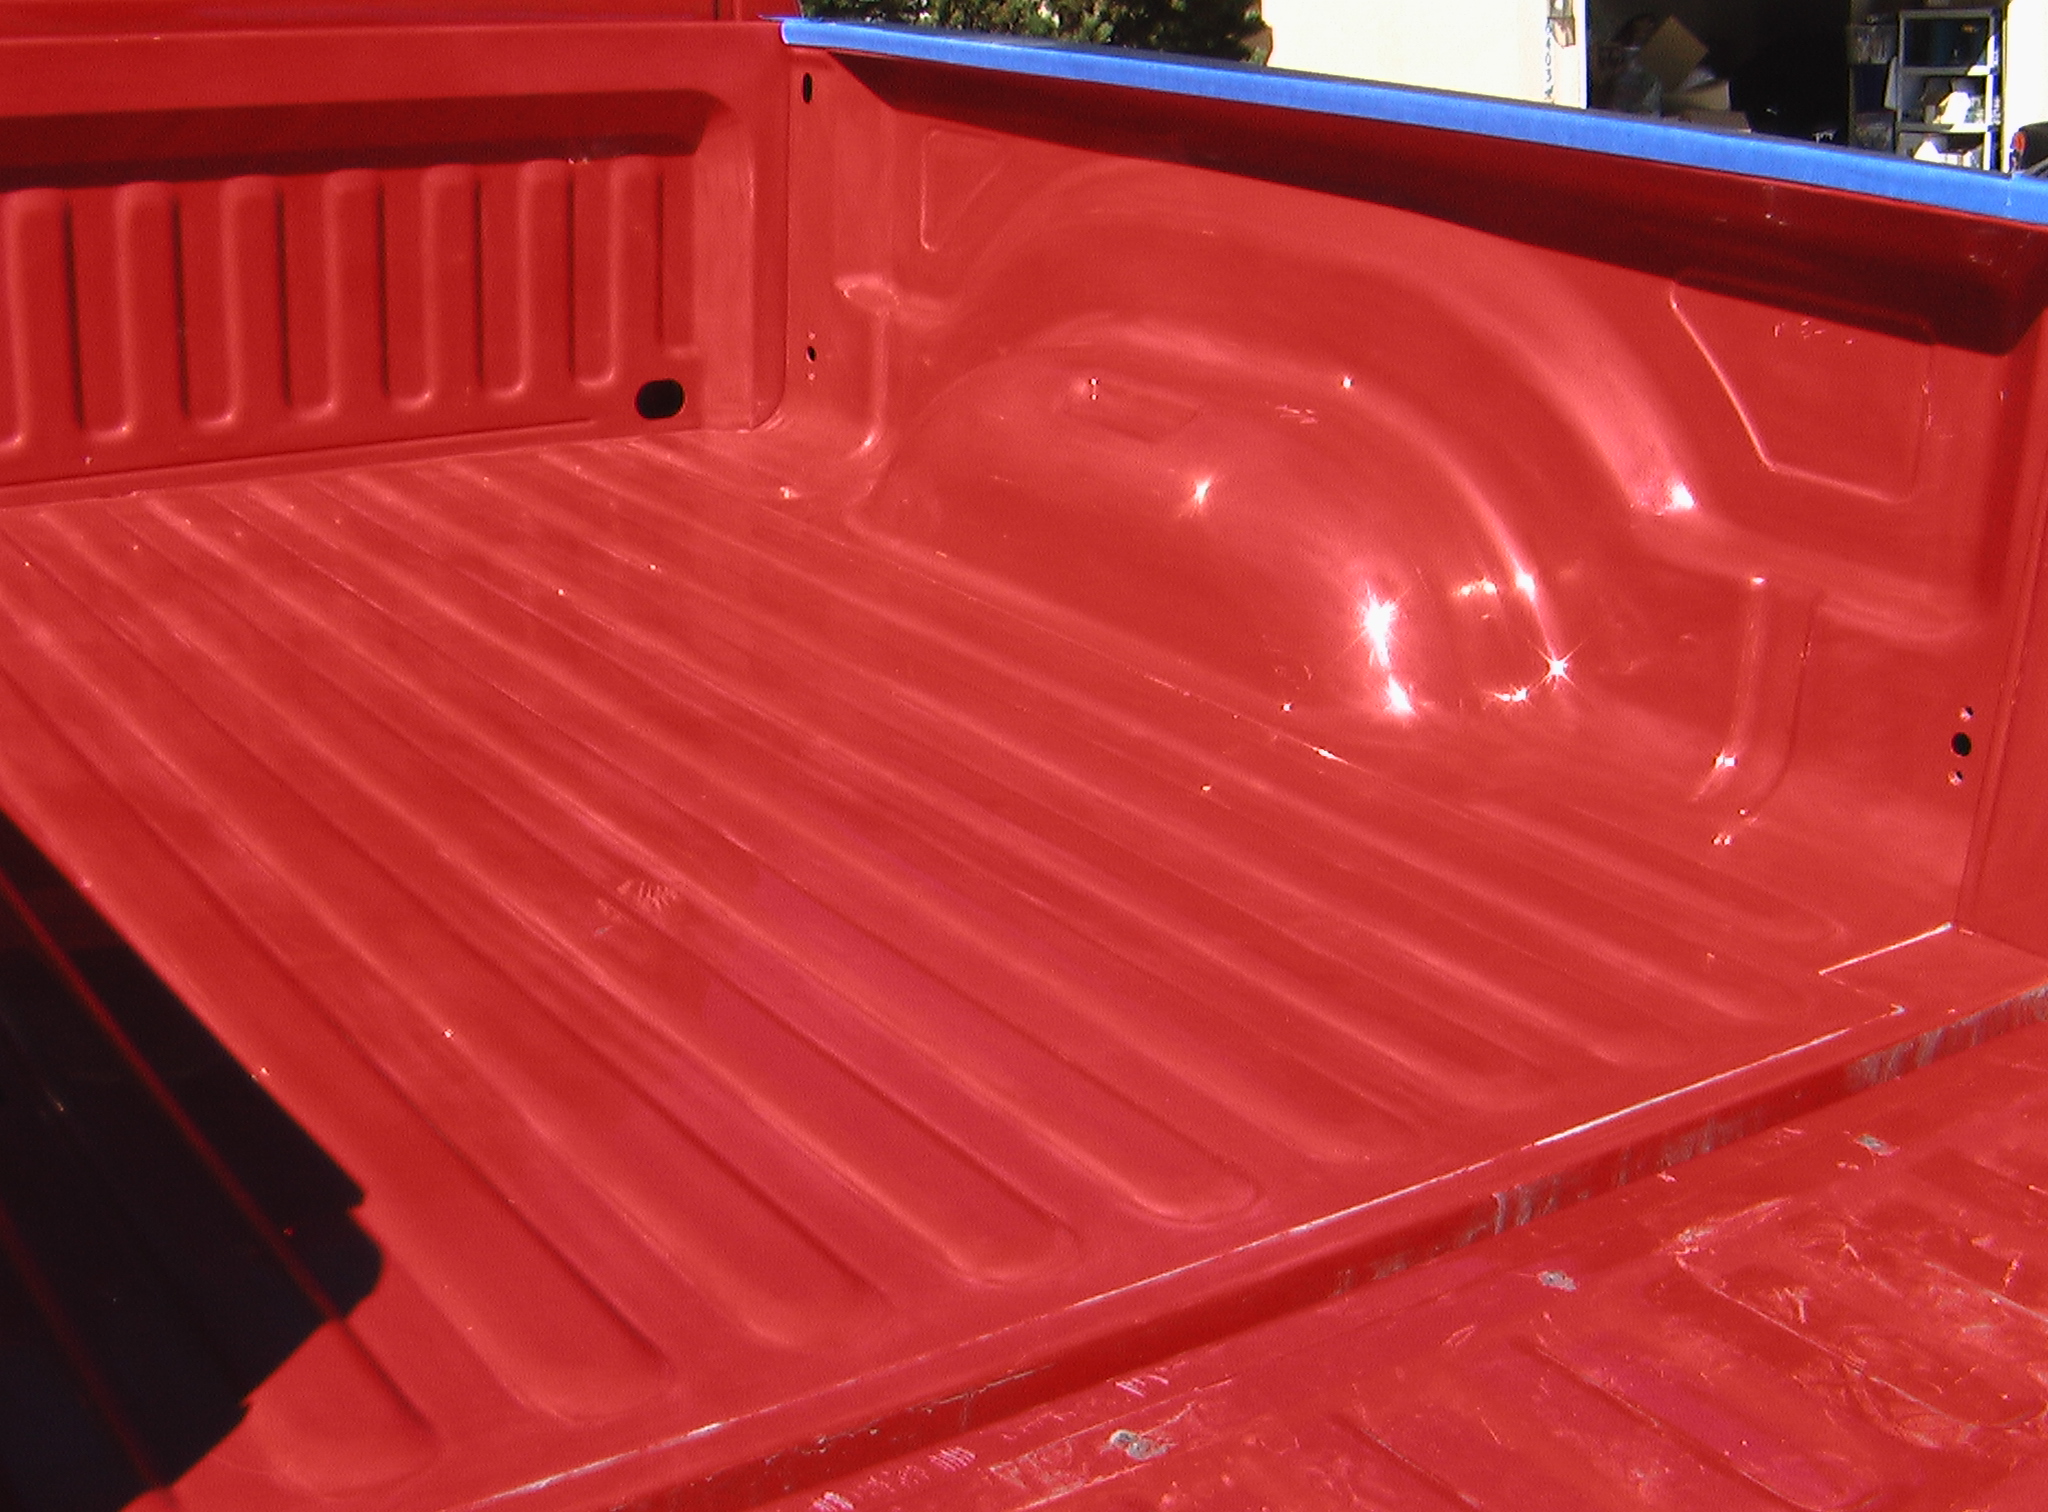
After wiping down the bed with M.E.K.

Flat surfaces were easy

Still doing floor

After more scuffing and more M.E.K.

Still scuffing

Difference of scuffed vs. unscuffed

More of first coat

First coat all done

Joints were really tough too

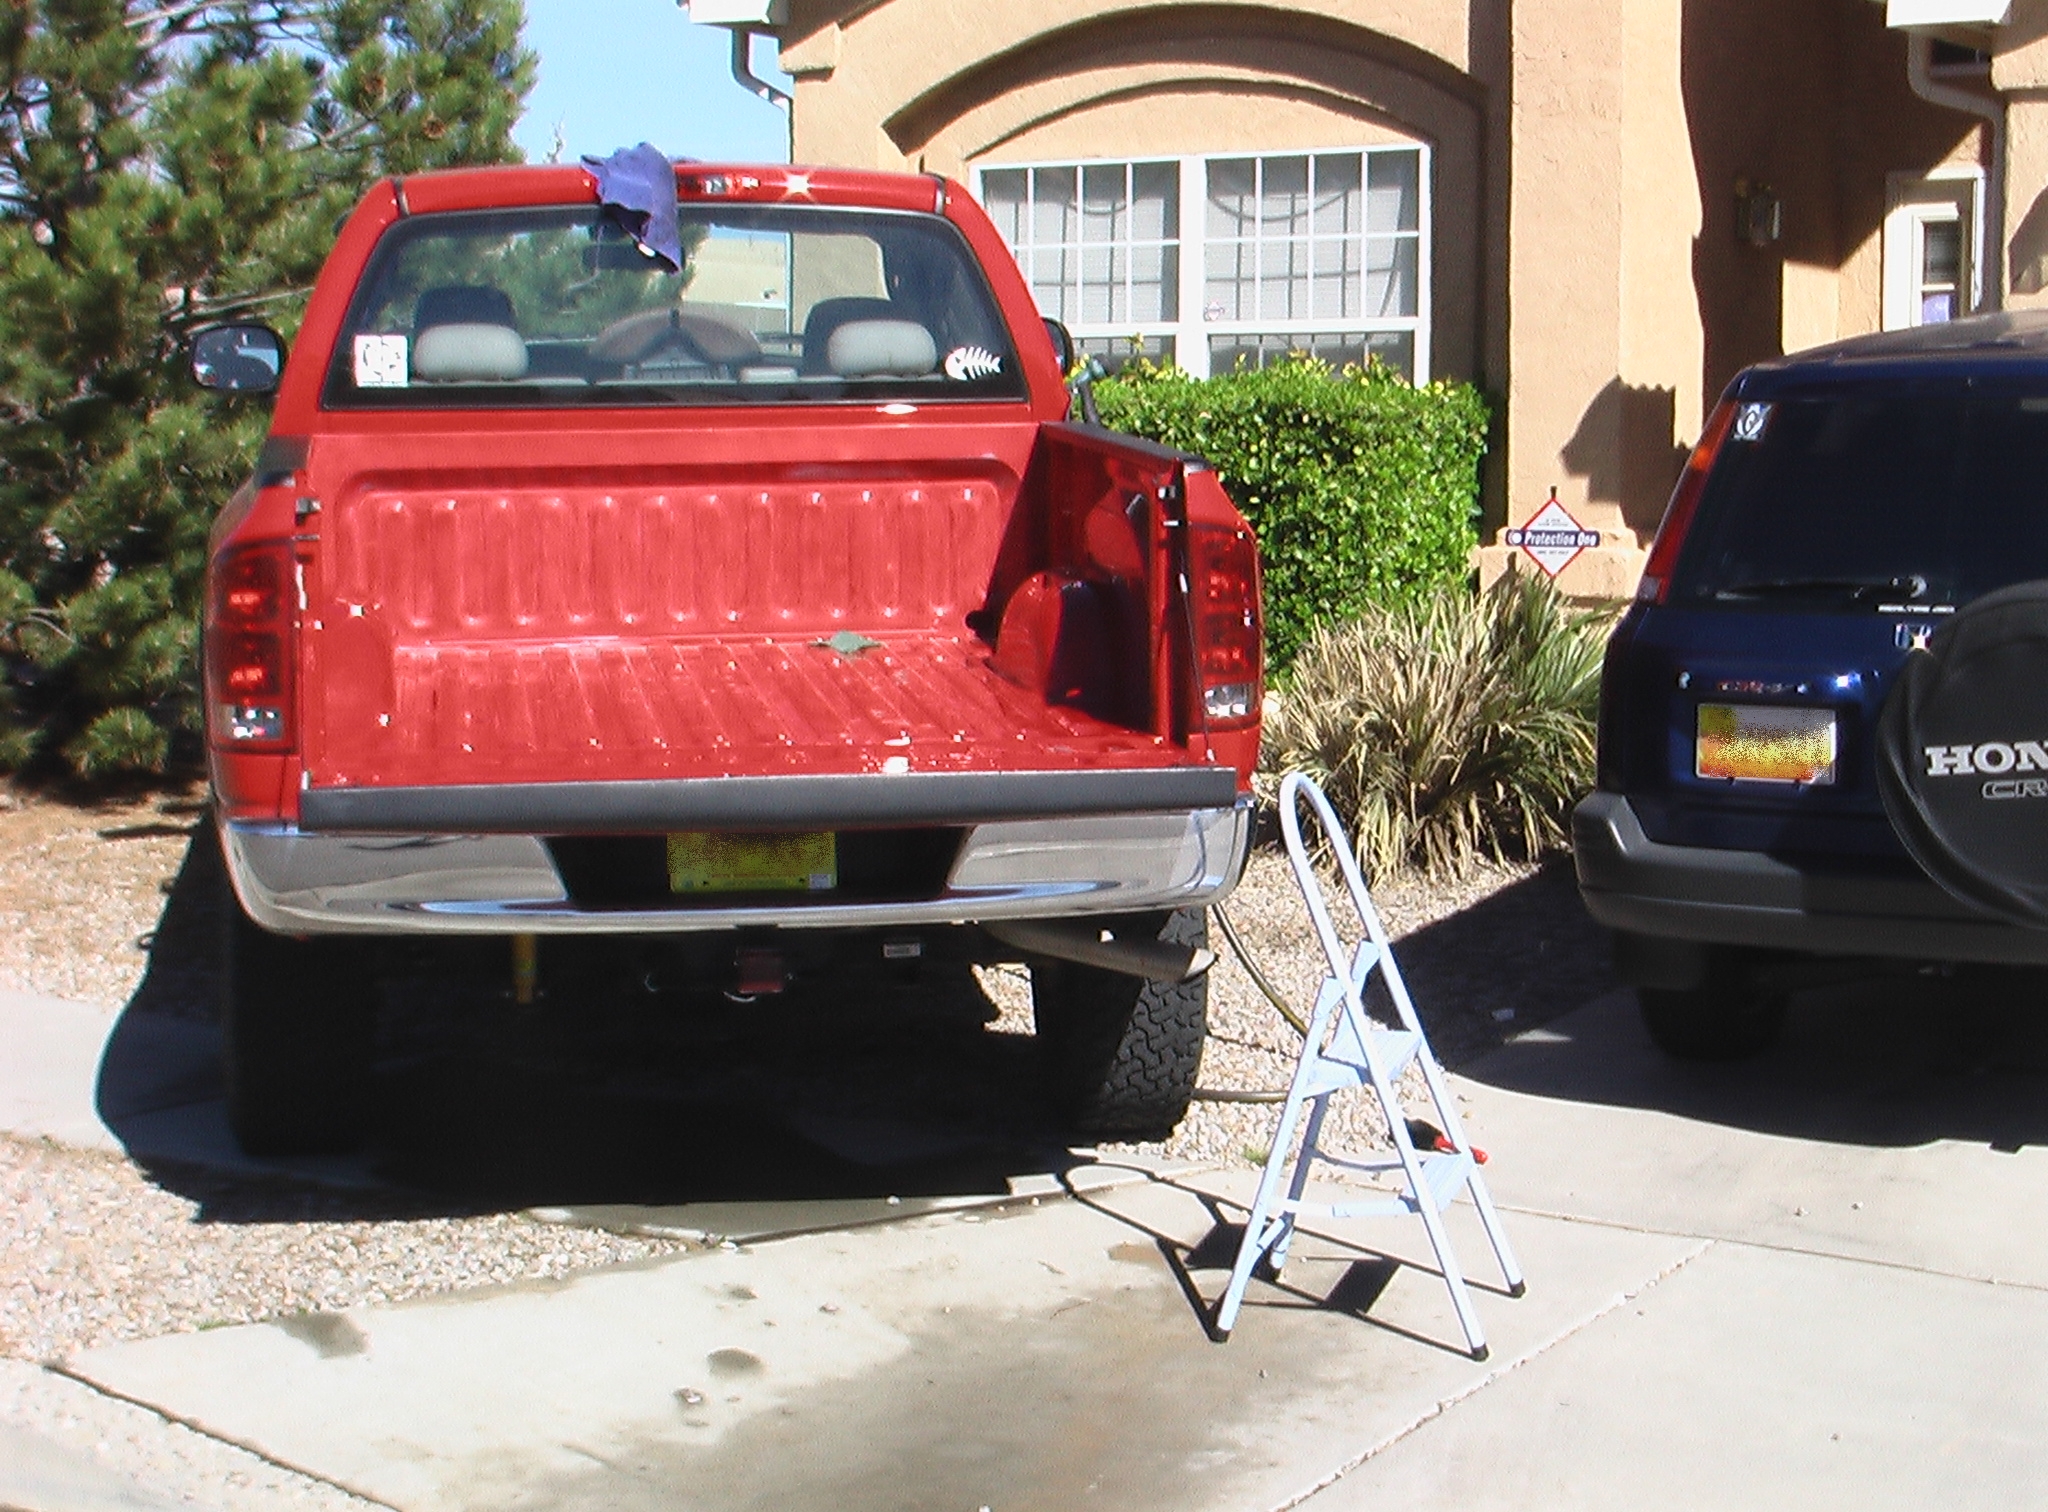
I decided not to do the tailgate

I stopped here for the day on Saturday to get ready for a dinner party
Still scuffing

The bed mat and tailgate mat that were in there

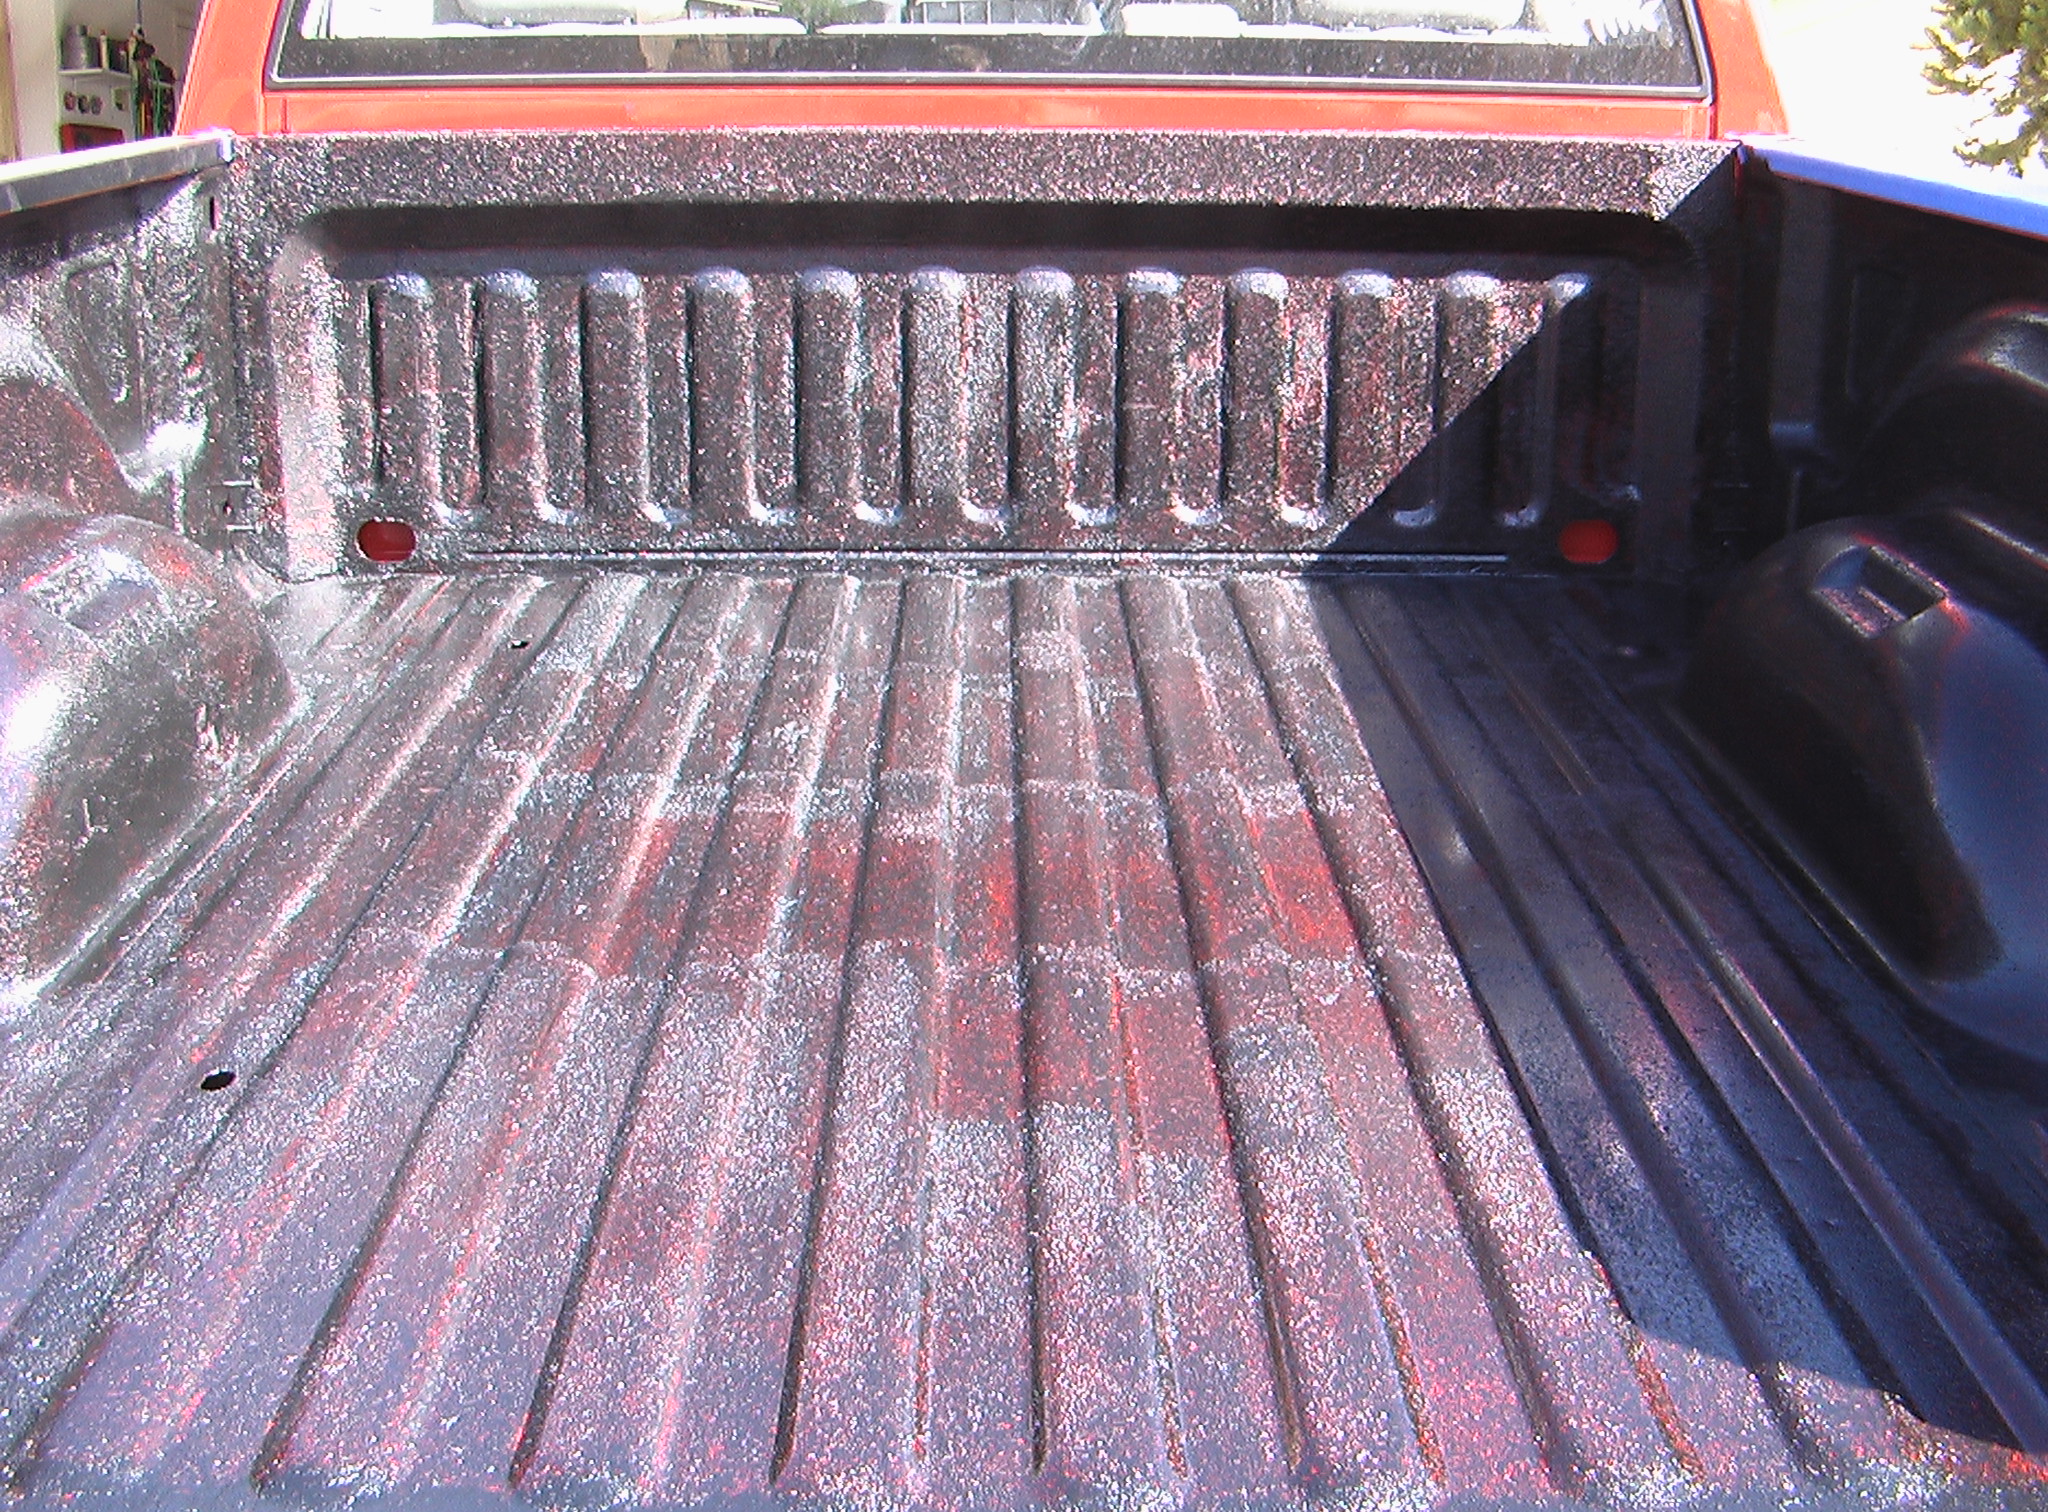
WOW!!! After the second coat

Scuffing paint with a green scouring pad

Still first coat
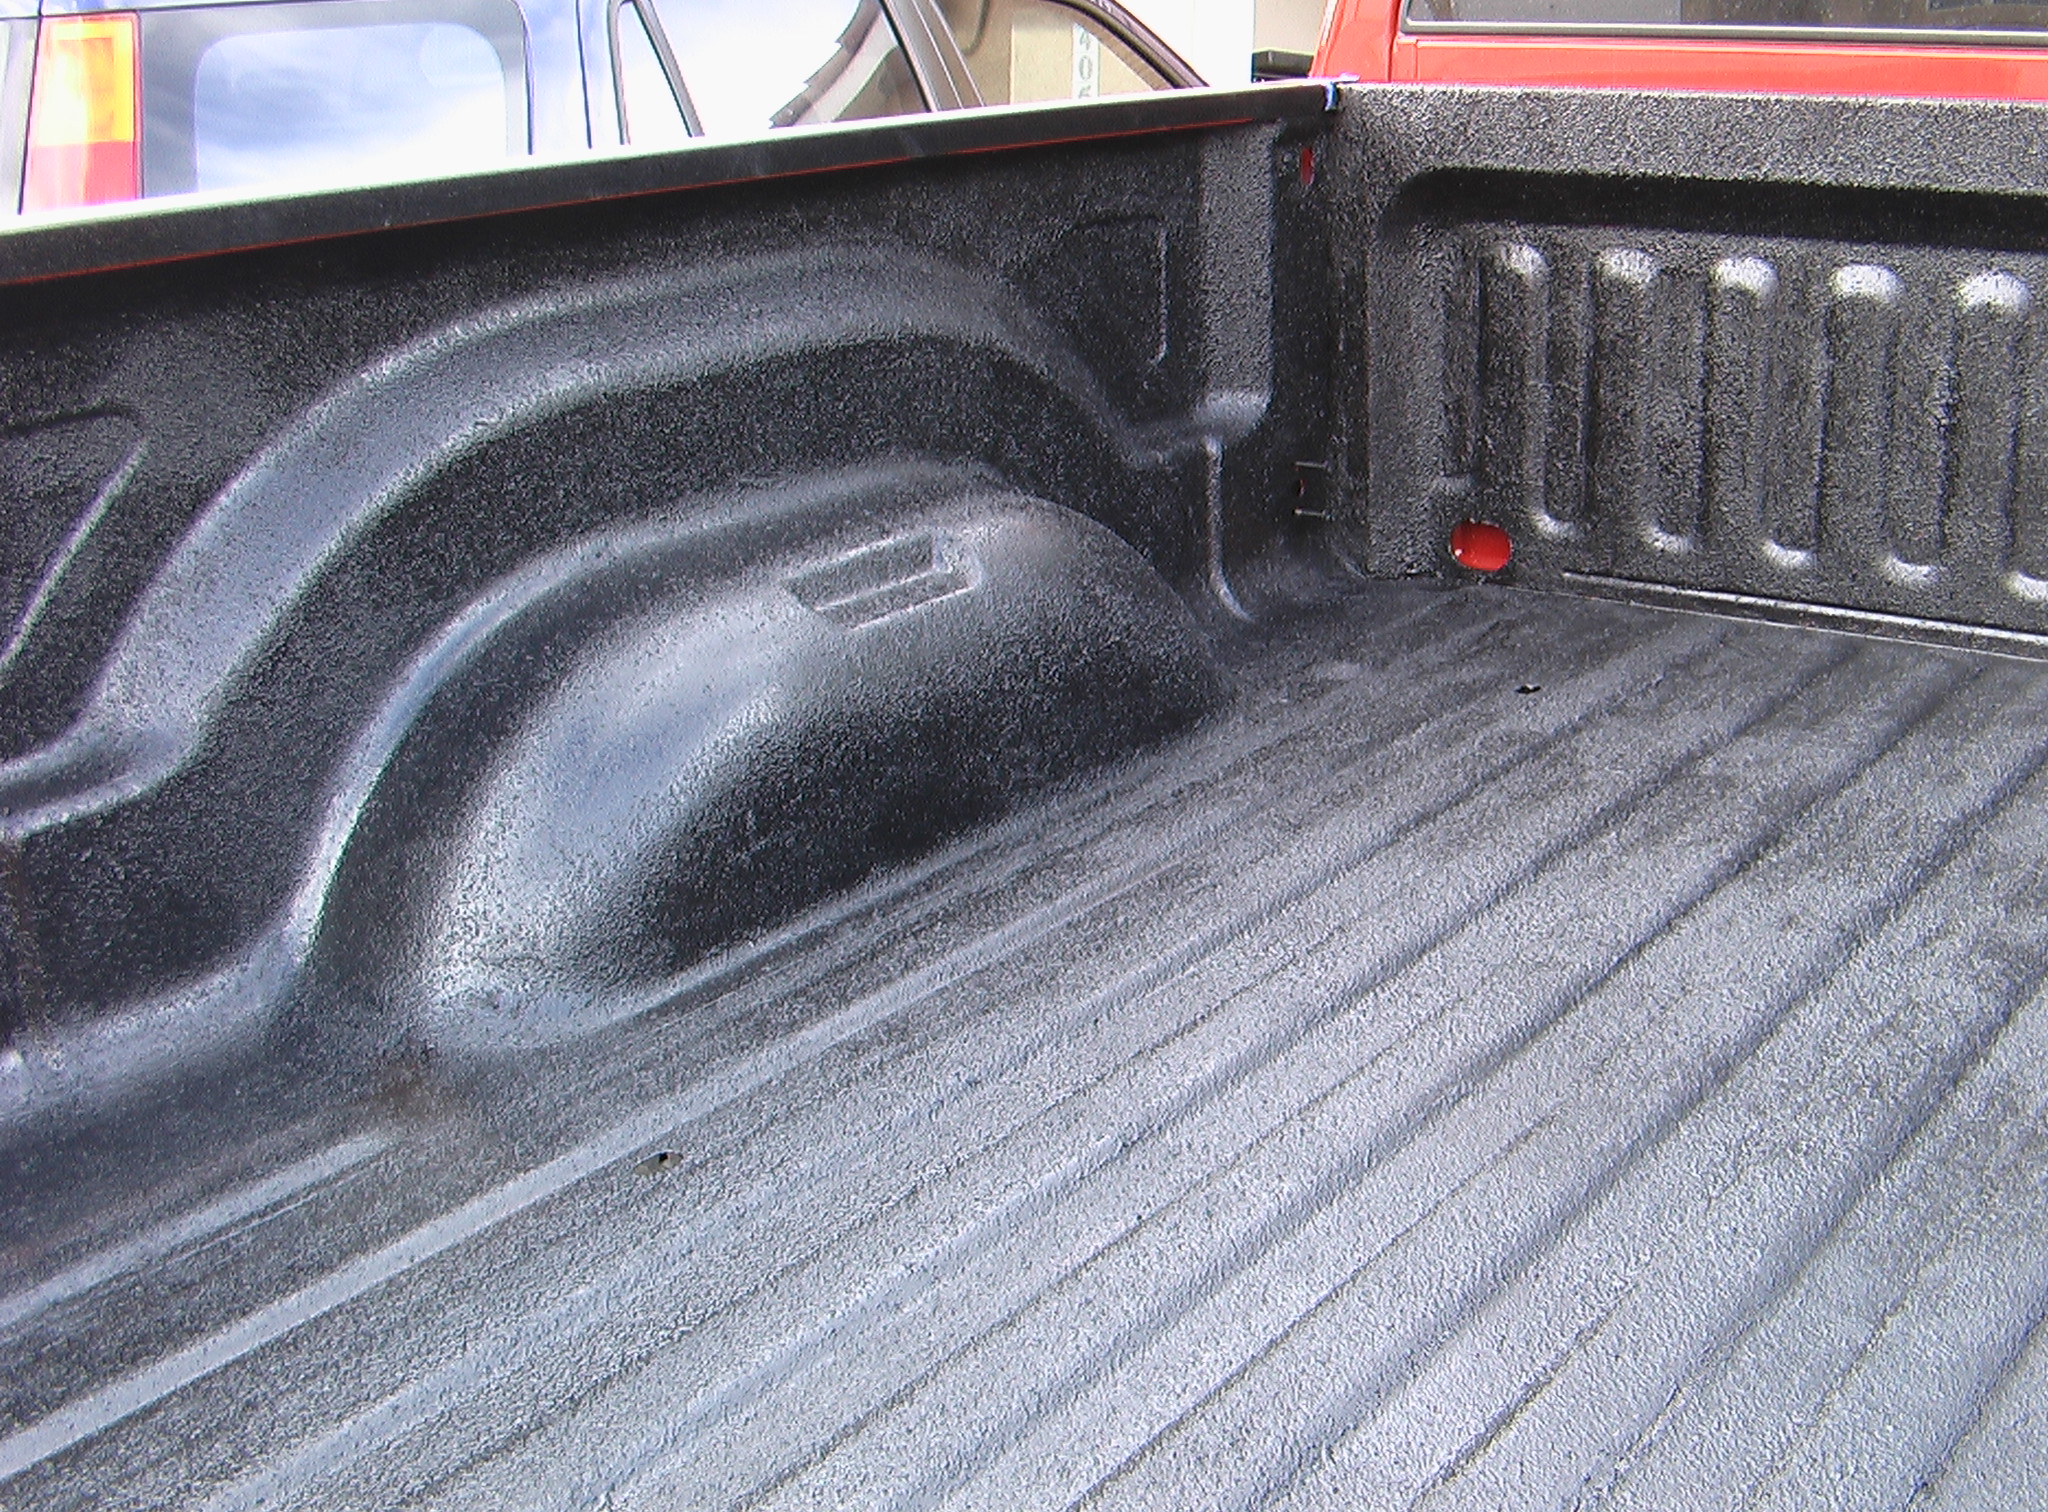
I was pretty surprised at how good it looks

The ribs were hell

Hoping it'll be more of a flat black

Waiting to see if the shininess goes away
Still some shiny spots

Still scuffing

First coat is supposed to be light

The floor of the bed is easiest